
So...my resolutions are:
- To get the allotments sorted out. I don't like to be pestered, especially when I know whoever is pestering me is right!!
- To finish my degree - successfully!
- and to finally get Wriggle Wraggle off the ground.
With the 3rd one in mind, I have decided to post a craft tutorial up every Tuesday. I've not done many tutorials so it's a bit of a learning curve for me too.
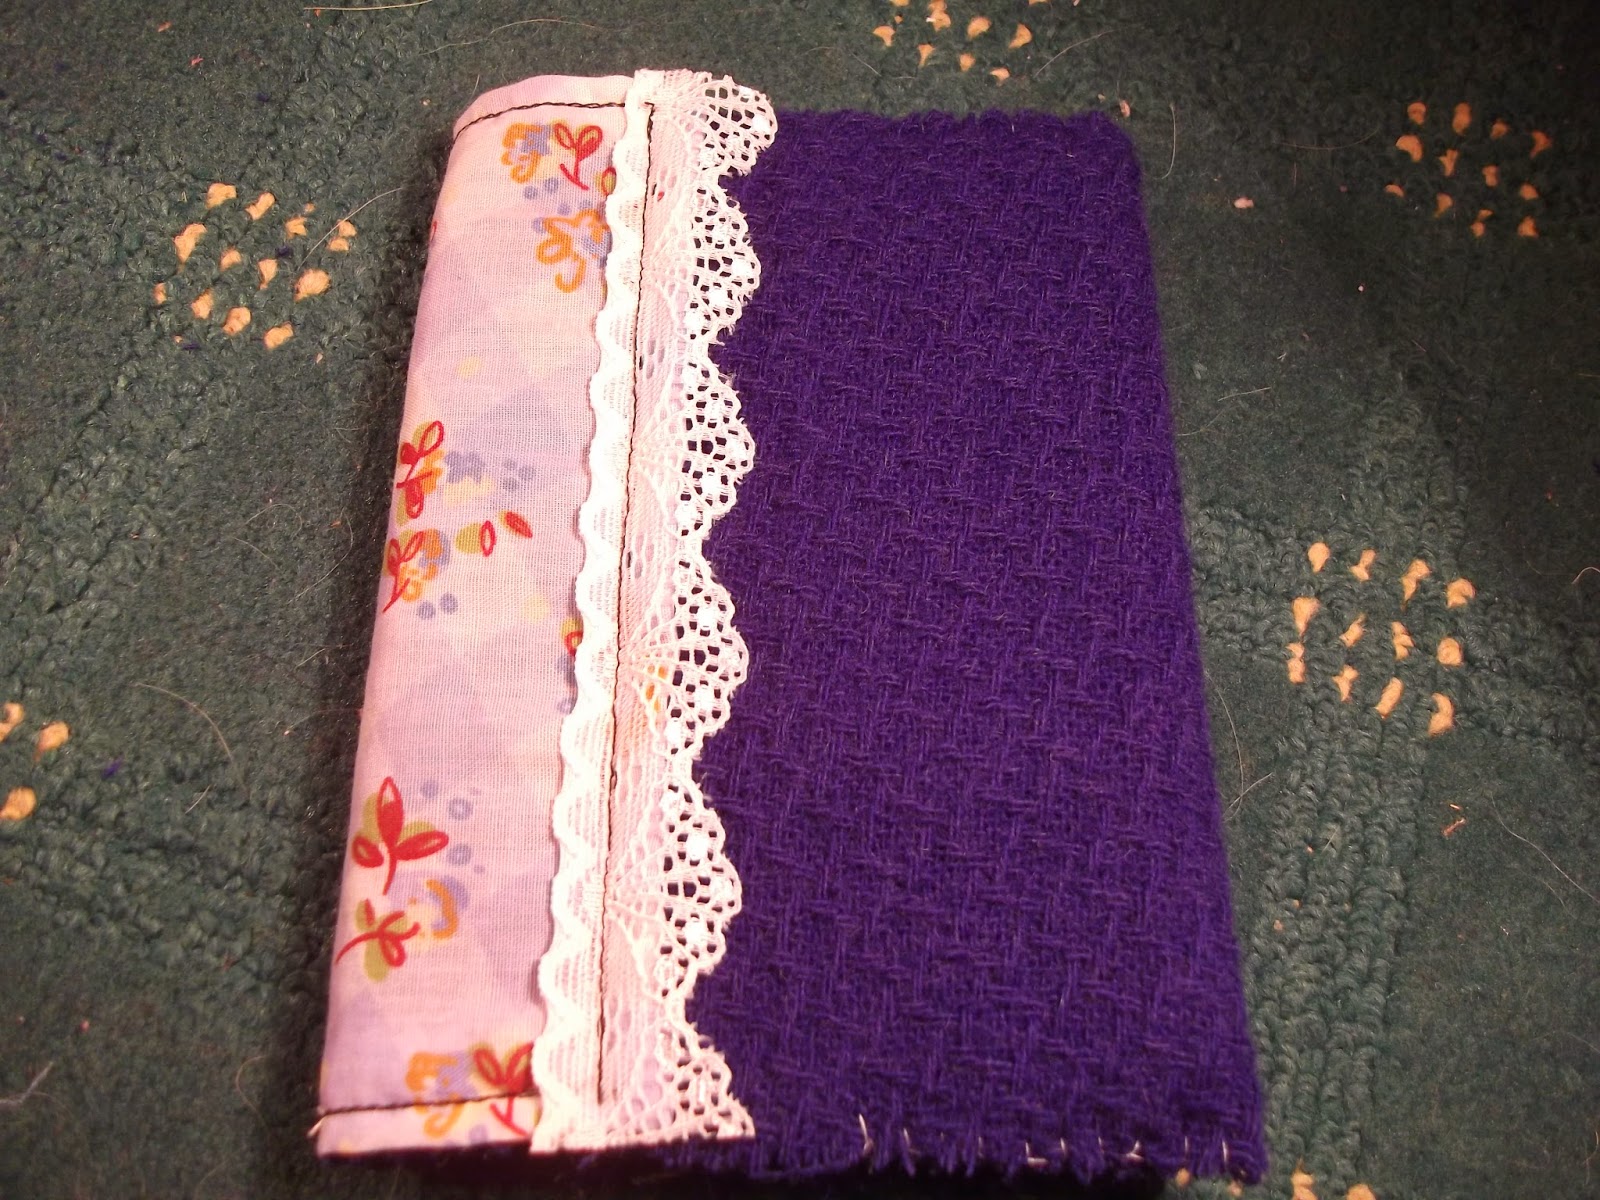
The first Tutorial Tuesday is a Notebook Cover. I bought some woollen fabric off ebay a while ago - I'm sorry - I just can't help myself. They were only thin strips of material so I was wondering what I could use them for. I came up with the idea while trying to think of Christmas presents to make. I bought a notebook covered with a gorgeous fabric with mice on at a local craft fair about a year ago and I've been meaning to try it myself. Here's how I did it:
Notebook Cover

You will need:
- Thick fabric - I used wool
- Contrasting fabric - you can use odds and ends that you've saved from other projects
- Sewing machine - or you can sew it by hand if you have the patience!!
- Needle and thread
- Scissors or pinking shears
- Ribbon or lace (optional)
- And, of course, a notebook! I bought some small ones from Tesco a while back and I found that spiral notebooks are much easier to work with!
Step 1
Open the notebook and place it on top of the main fabric. Cut the fabric at a suitable length but remember you will need a bit extra at each side to secure the cover in place.


Step 2
Cut the 2nd fabric so it is about 1'' wider than the 1st, and about 5'' long.


Step 3
Fold the sides down and pin them in place. To ensure accuracy, use a tape measure and use an iron to fold down the sides

Step 4
Sew the sides down with a sewing machine or by hand so you are left with a perfect rectangle which fits wonderfully onto the main fabric!

Step 5
Sew the rectangle onto the main fabric - in the centre

Step 6
If you like, you can sew some lace or ribbon on the edge of the 2nd fabric. I think this is really worthwhile as it makes it stand out.


Step 7
Turn the cover over and place the open notebook in the middle of it.

Step 8
Fold over the edges and sew in place using a blanket stitch. This will keep the notebook in the cover. Do this for all four corners.


Step 9
Put the notebook in the cover...

....and voilà!
Things I would have done differently
I think it's important to look back on your work and consider how you could make it better so...
- I think I should have hemmed the woollen material as it started to fray.
- and I should have taken more time over the blanket stitch to make it neater.
Well, there you have it. There are all sorts of variations you could try. Why not appliqué a design on the front? For the raffle at my sister's RNLI concert, I made some covered notebooks and appliquéd a quaver note on the front. You could even put in a little pocket on the front for some pens...the possibilities are endlesss....
Happy Crafting!!
No comments:
Post a Comment