
Instead, I thought I would make some hoop earrings as I'm addicted to jewellery making at the moment!!
I got some memory wire some time ago for making bracelets but these bracelets take up so many beads. These earrings are great fun to make - and very addictive! You'll end up with so many pairs, you won't know what to do with them! I'm keeping a pair for myself and I gave a pair to Mum. Now all I have to do is persuade Ginny and Judith to get their ears pierced!
Making Easy Hoop Earrings
You will need:
- 2 coils of memory wire
- 2 earring hooks
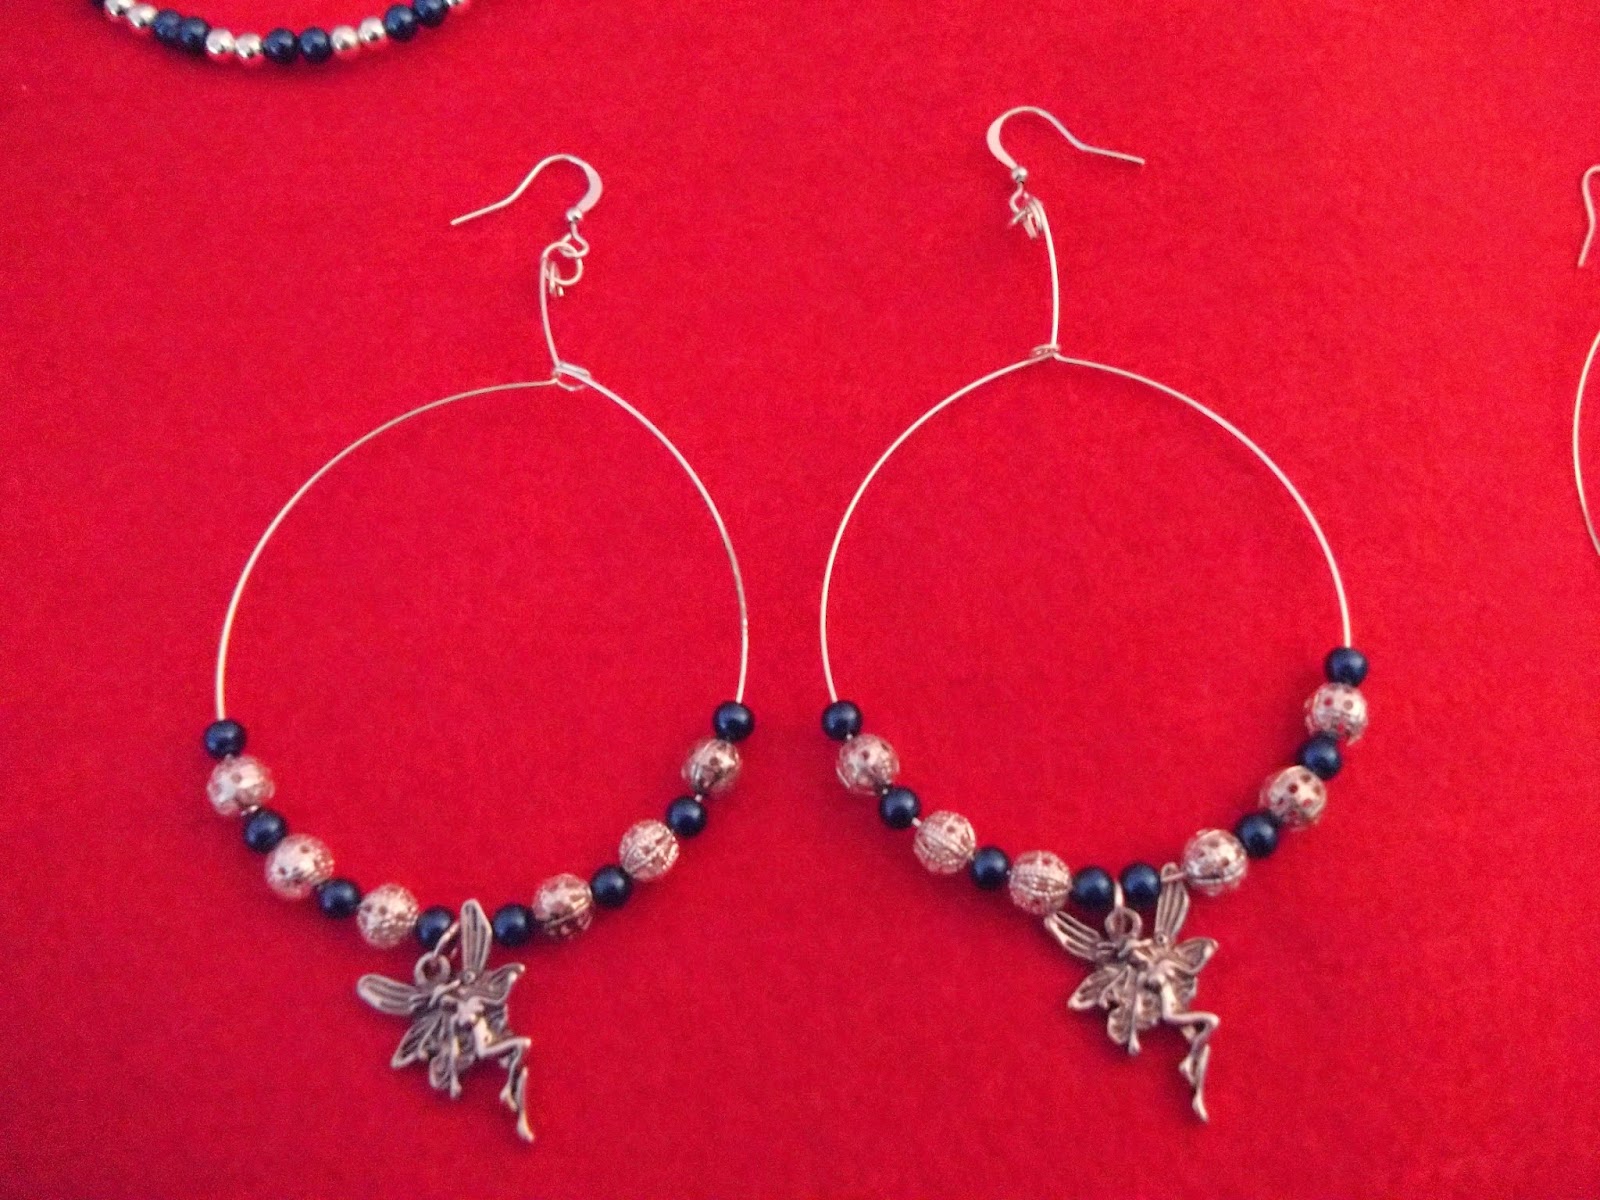
- 28 small beads - I used 12 6mm spacer beads and 16 4mm pearl beads
- 2 Tibetan charms - I used some fairy charms
- 4 jump rings
- Wire cutters
- Round nosed jewellery pliers
- Flat nosed jewellery pliers are also useful for opening and closing jump rings
1) Cut the memory wire so you are left with a full circle. Repeat for the other earring. You should use memory wire cutters as the wire is so strong it might blunt normal wire cutters. Unfortunately, mine don't work!


2) Thread 1/4 of the beads onto the wire

3) Attach jump rings to the Tibetan charms. You can open the jump rings with pliers.

4) Put the charm on the wire using the jump ring. This ensures it faces in the right direction.

5) Thread another 1/4 of the beads onto the wire. I made mine symmetrical.

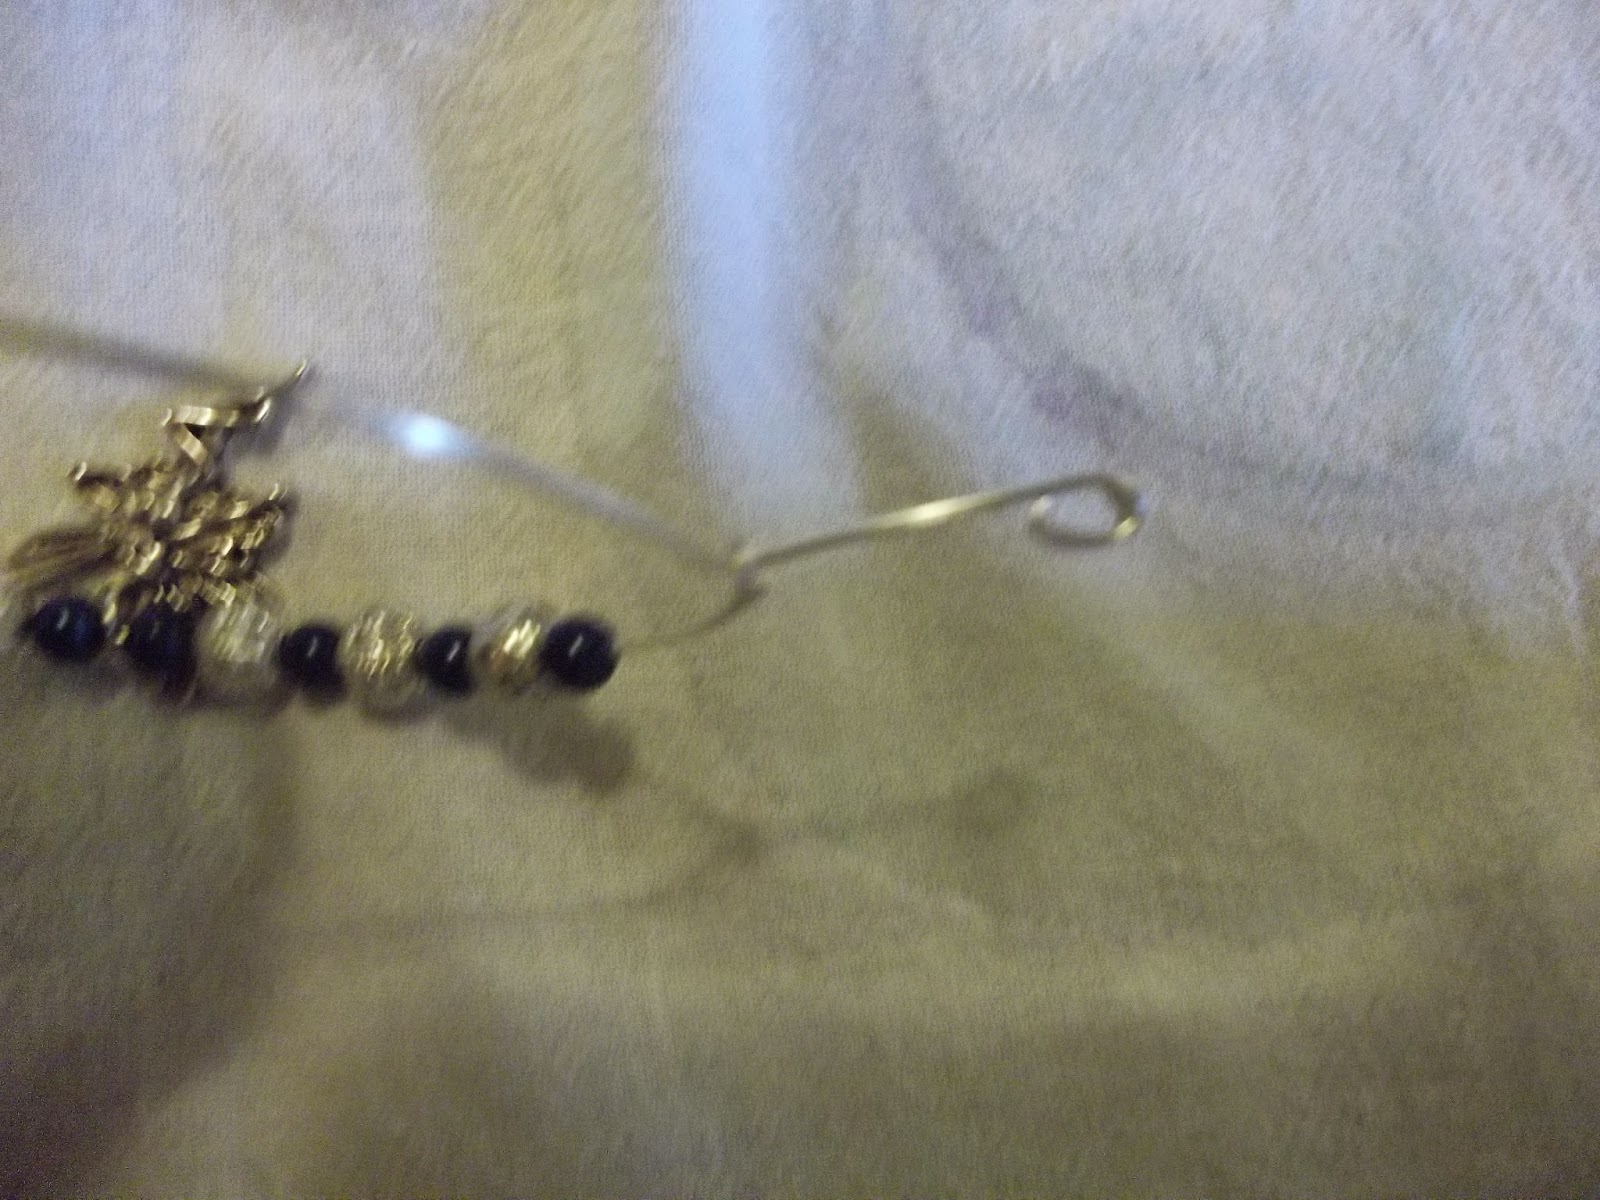
6) Bend one end of the wire upwards with the round nosed pliers.

7) Curl the other end in on itself with the pliers. You should be left with a loop.


8) Fasten the ends together by threading the long end through the loop.


9) Curl the long end in on itself a few times with the round nosed pliers
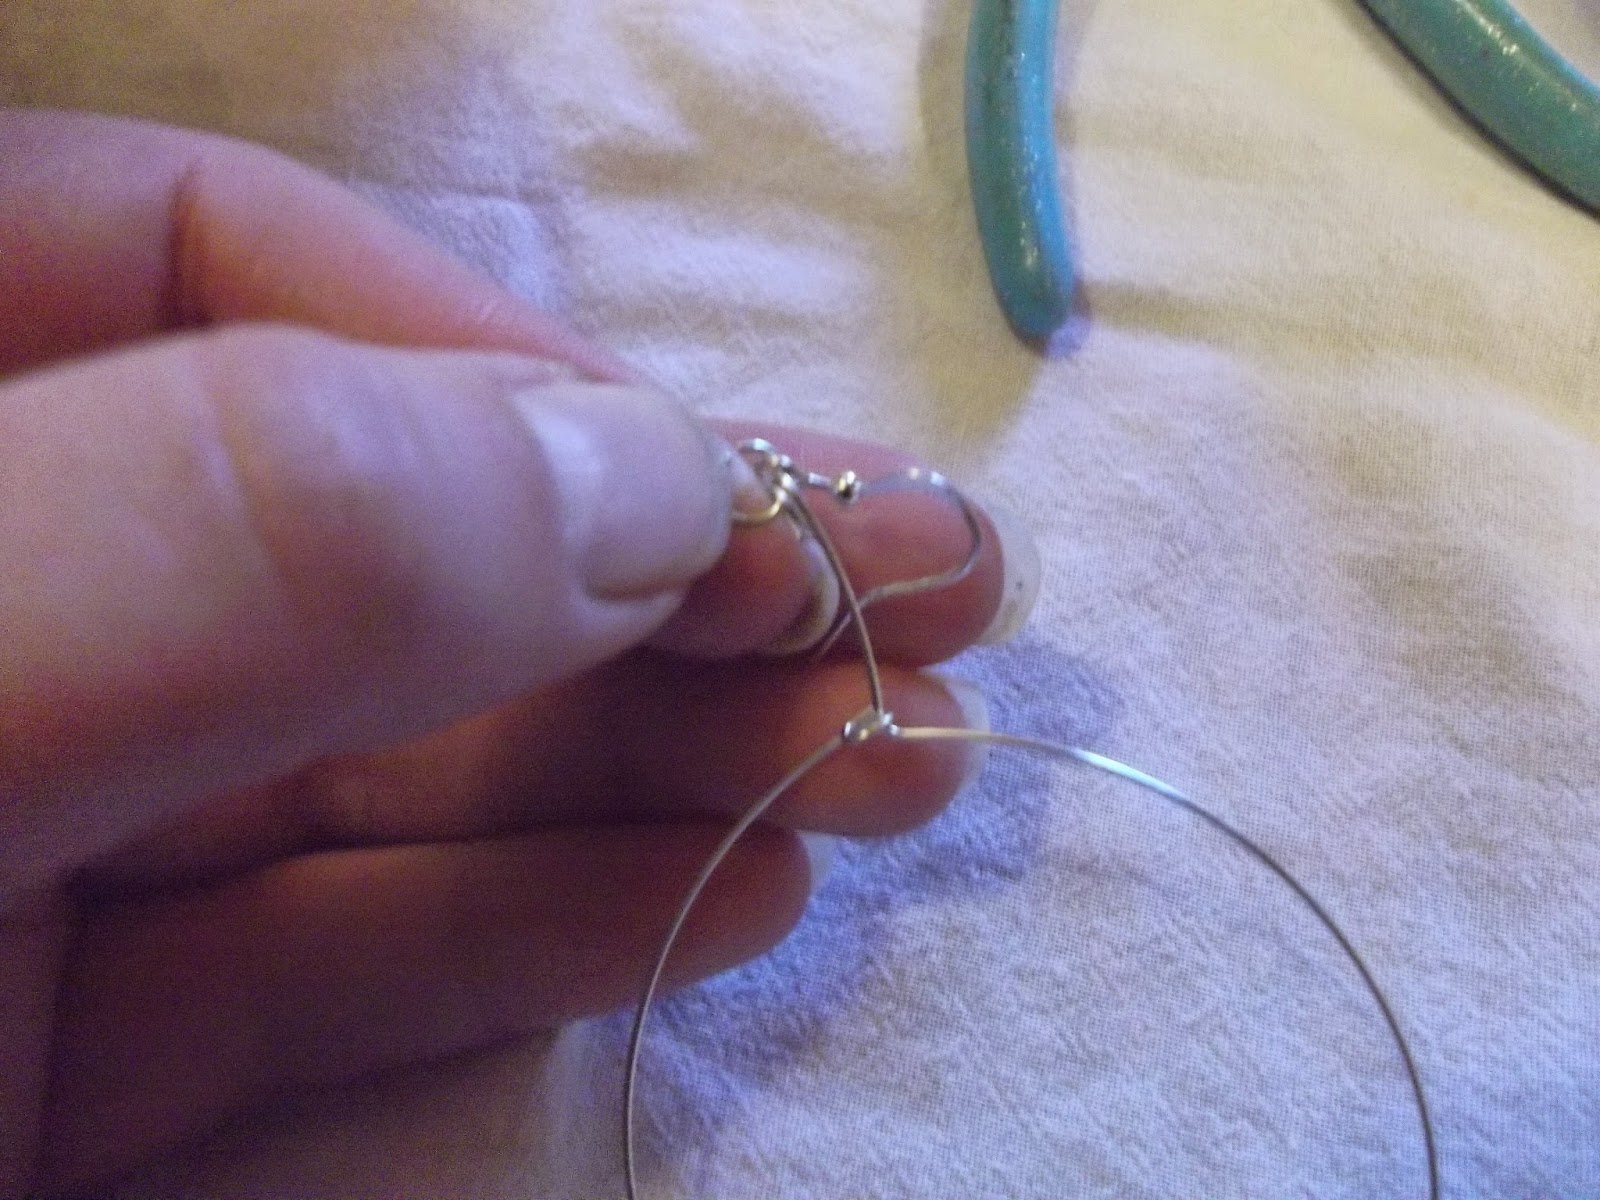
10) Attach a jump ring to the loop you have just made. Attach the earring hook to the jump ring. Make sure it is facing the right way - you want the front of the charm facing out as you wear it.

And there you have it!! Just remember to repeat the process for the other earring!! :)

Things I would have done differently:
- I should have taken more time when making the loops with the pliers. I had to redo one of the earrings because my 1st attempt was too shoddy.
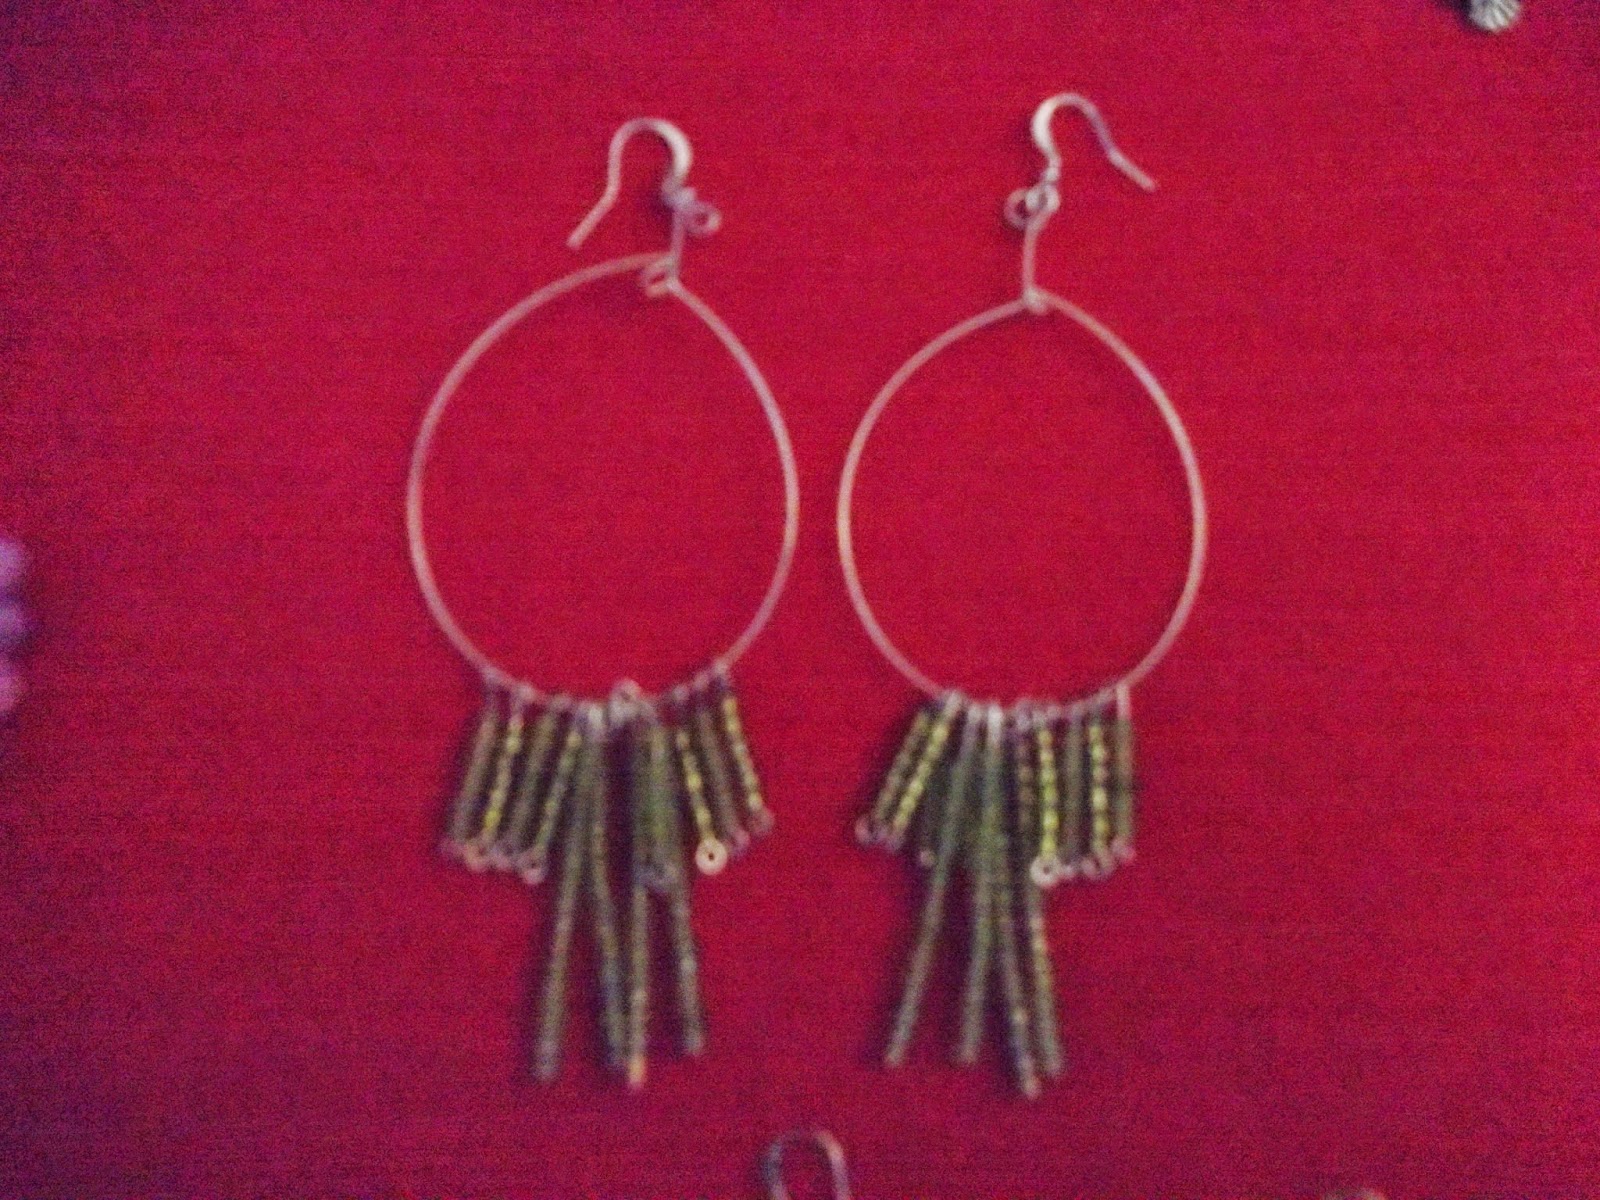
There are several variations you could try. Why not thread beads onto some headpins and attach them to the earring?
Or try using bigger beads and a different charm:

Or make bigger hoops by cutting more wire:

Happy Crafting!! :)
No comments:
Post a Comment